Glen Williams
Method
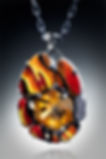
This part of my website I will show how I design and construct a piece of jewelry. I've left the date stamp on the camera, so you can get a feel of the length of time that it takes to finish a particular project. I never have just one project going at a time, though in this case, my focus is on finishing this one piece and the date noted on the photographs reflect an accurate description of the time involved. When I begin a piece I will sometimes begin with the stone. I had a 39 ct. Citrine that had been faceted in a honeycomb shape (hexagon) with a honeycomb pattern on the crown. The hexagon is a strong shape, and people always think honeybee when they see it. I wanted to minimize that. I came up with an egg shaped pattern (another strong shape) that keeps the six sides intact but makes the design a little more fluid. I knew that the pattern on the cloisonne had to be a strong pattern with deep colors and patterns balancing the shapes of the piece, though as I write this, the final design is not yet complete. I usually work that way. Enough on paper to get me going, but the final details come towards the end of the piece. This shows my initial design with the central hexagon holding the stone, surrounded by five cloisonne medallions and one druzy quartz medallion. The bail at this point, would be a drip of diamonds (once again, contrasting the strong shapes of bee and egg).

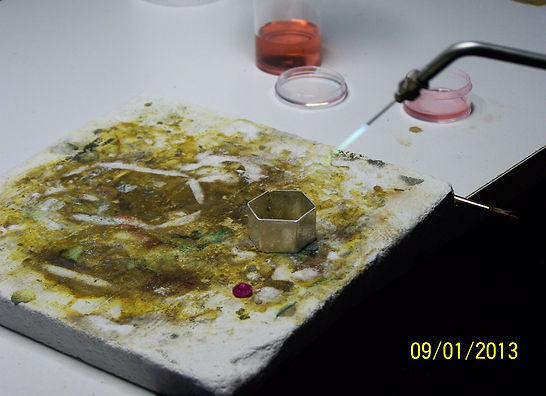
The setting is made from 24 guage sterling silver, bent and soldered to hold the stone. I will confess to making the stone setting twice as the first one didn't fit the stone. You've heard the saying "measure twice and cut once", and I have too, though you might not know it, as I sometimes have to remake parts due to sloppy measuring. I also use a water torch, which I love, because of the compact design and it has a really hot flame. Sometimes too hot, as I've melted through settings more than once getting the hang of the heat. For large solder jobs I'll use a fat propane flame to even out the heat more.

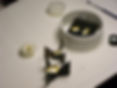
All the cells were formed with half inch Sterling Silver strip (24g) and soldered together.

All the cells were then cut to the same height as the central setting (based on the size of the main stone). This is generally considered backwards, except for custom jewelry (find the stone that will fit the setting instead of building the setting to fit the stone).
Milled some Fine Silver wire (18g and 14g) for prongs to hold the stone and cloisonne medallions.


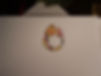
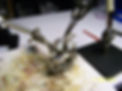
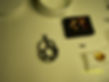
Annealed the wire. (I included this photo only because I like the blue flame of my torch. It's actually blue-green in real life).
The cloisonne medallions around the central stone will all be flared outwards like a flower. Essentially the piece will have a built in "dome". So each setting had to have an 8 degree cut in the base away from the vertical. This would also allow the piece to be soldered at the back without a lot more weight being added to the piece.


All cells were sanded flat on the bottoms.
Cells were soldered together following the original pattern.

Two fine silver tubes were soldered onto the bail to set the diamonds into.
Medallions (for cloisonne) were cut from fine silver to fit the previously soldered setting.

Design was finally finalized and put on paper.

Backs of the cloisonne medallions were counter enameled in blue.
Pattern was traced to silver medallions via Saral transfer paper (burns off clean).
Gold wires melted into the medallions per the pattern.

Gold leaf applied to various cells depending on the color of the glass.
Enamel glass applied wet pack to cells (washed and packed with a paint brush).


Dop sticks were glued onto the backs fo the medallions to make grinding easier. I normally freehand the grind.
Grinding on a 280 grit diamond wheel followed by a 600 grit and a 1300 polish for the gold wires.
Solder the bail onto the setting.

Set the diamonds in the bail with Jett Sett
After all the work is done, you get to set the stones and medallions and voila the piece is done. For this piece just a simple bending of the prongs to set all stones and enamel medallions.